
Step 01
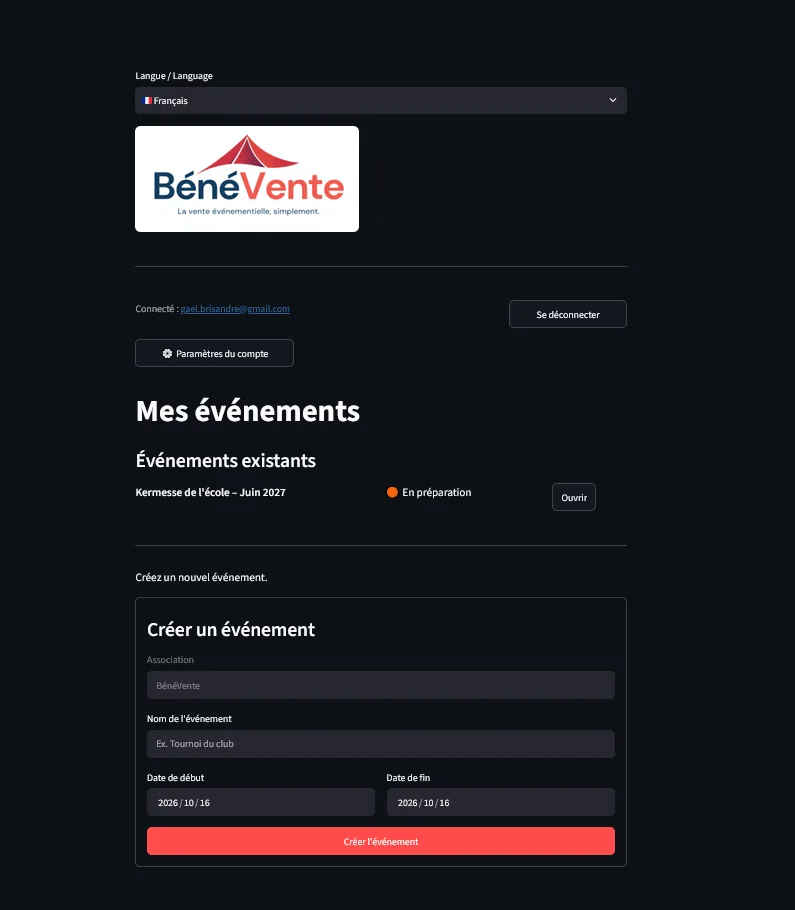
Create your event
Create your fair, refreshment stand or nonprofit shop from your organizer account, and manage your events in one place.
From setting up an event to tracking sales, see how to run your nonprofit checkout in just a few steps.
See the steps ↓Real screenshots from a sample school fair.
Create your fair, refreshment stand or nonprofit shop from your organizer account, and manage your events in one place.
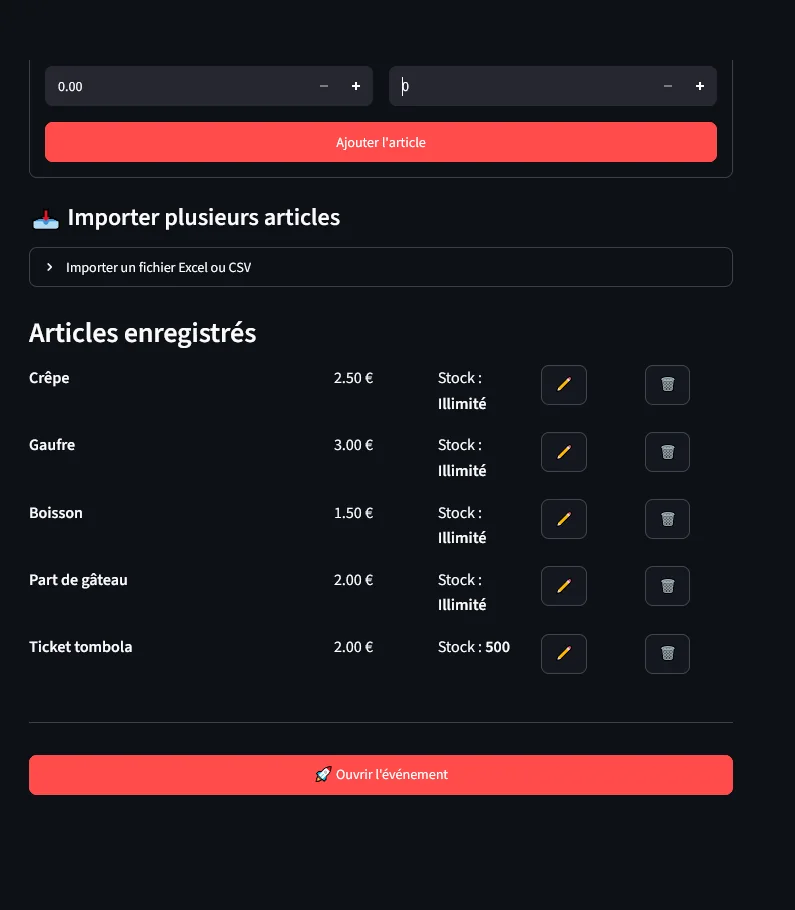
Add items, prices and available quantities. Choose unlimited inventory when needed, or import products in bulk.
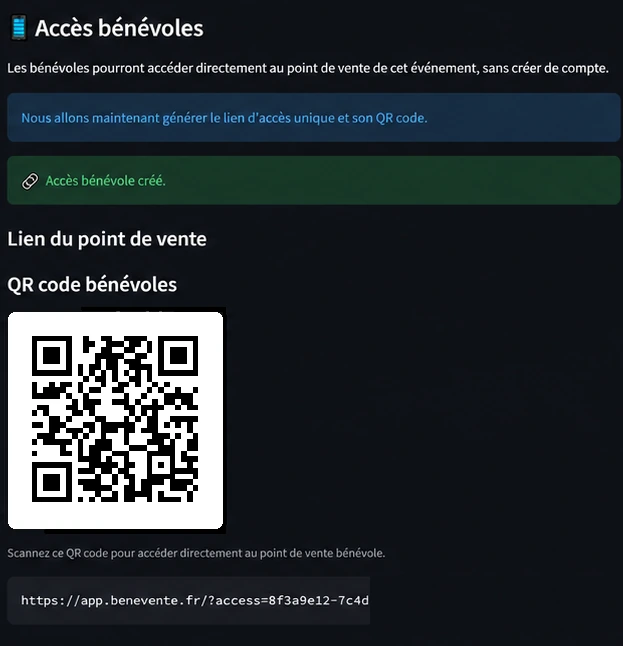
When the event is open, share its link or QR code. Volunteers can open the checkout without creating an account.
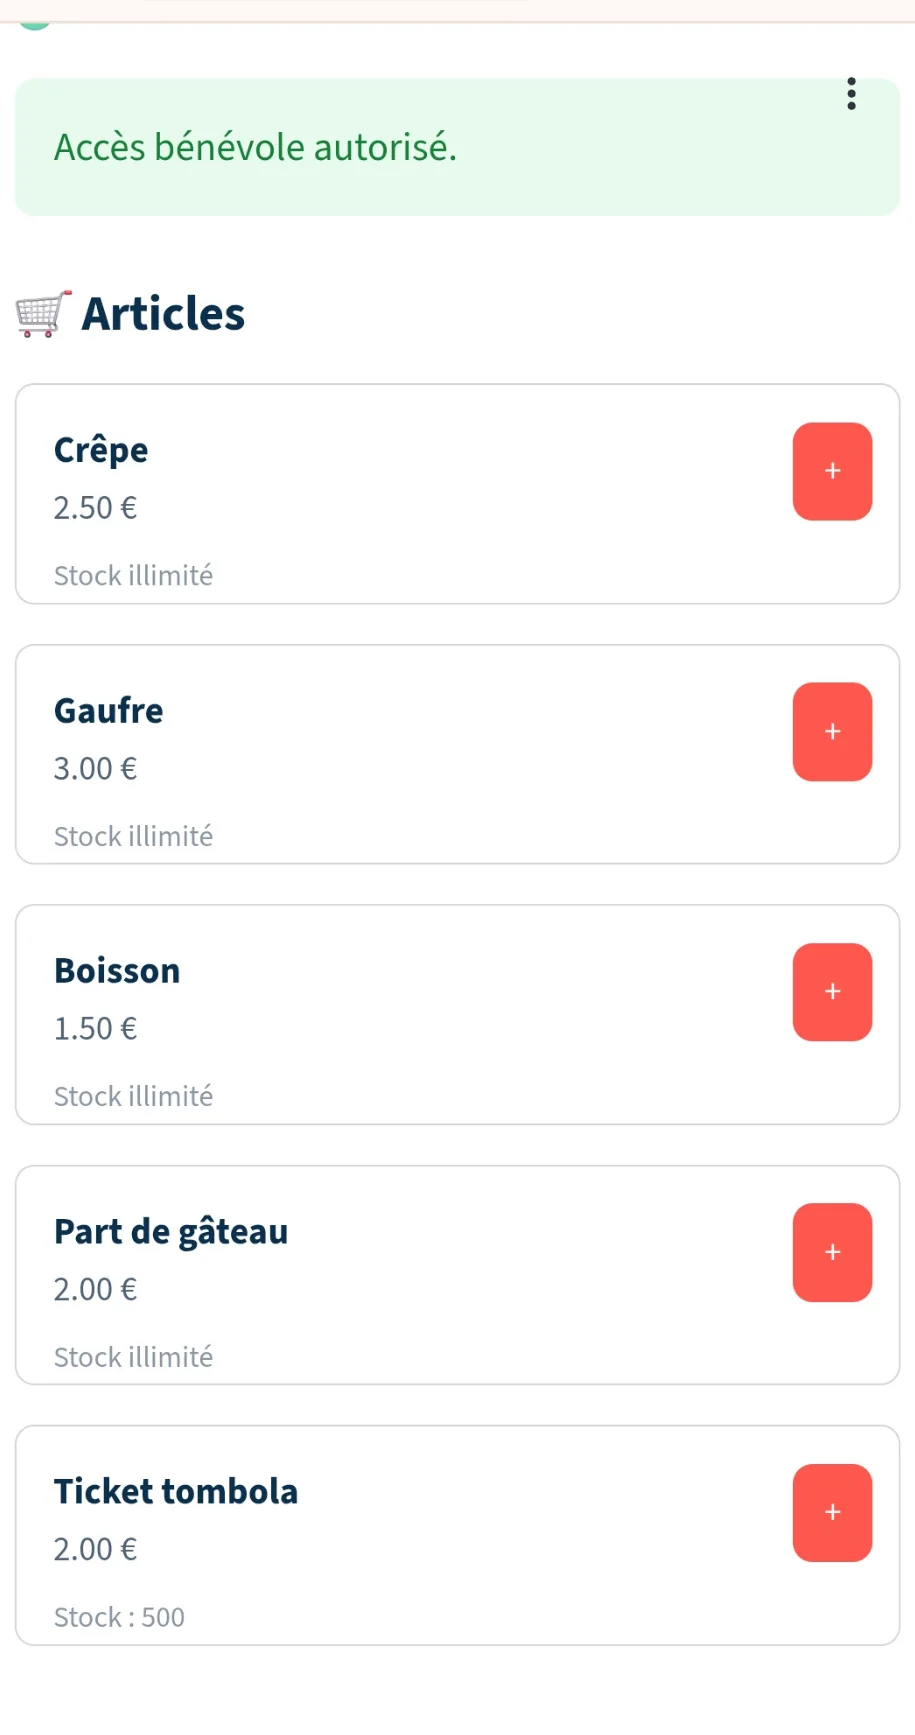
Volunteers select items and quantities. The total updates automatically; they choose card, cash or cheque and record the sale.
See revenue, payment-method totals and best-selling products in your organizer dashboard.
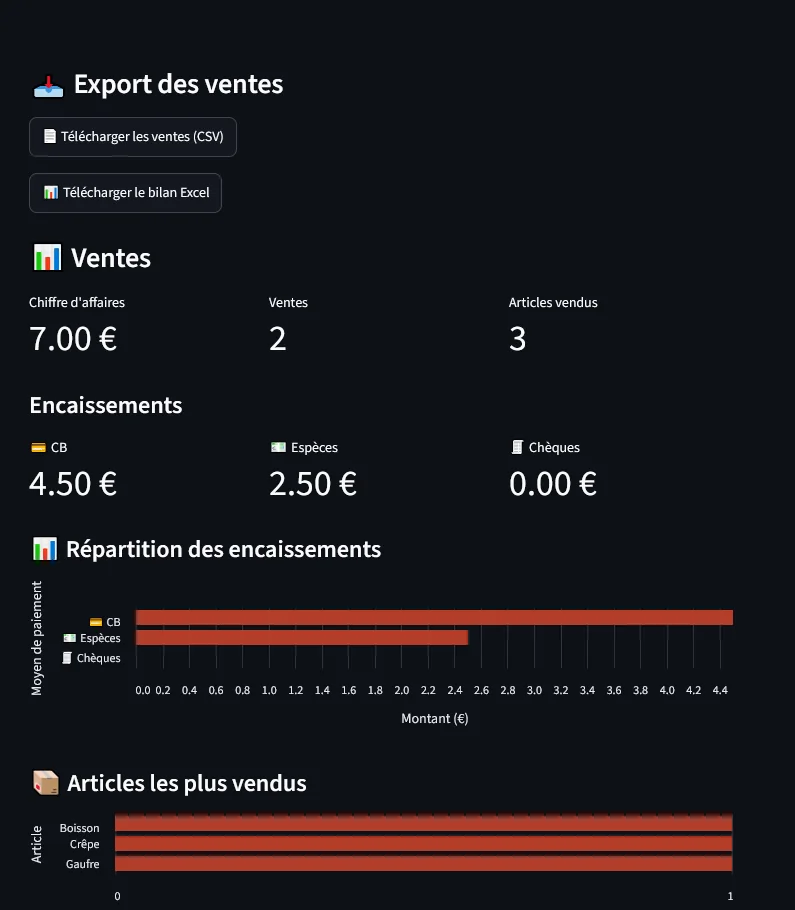
Review each sale in the history, export sales as CSV or download an Excel summary for your records.
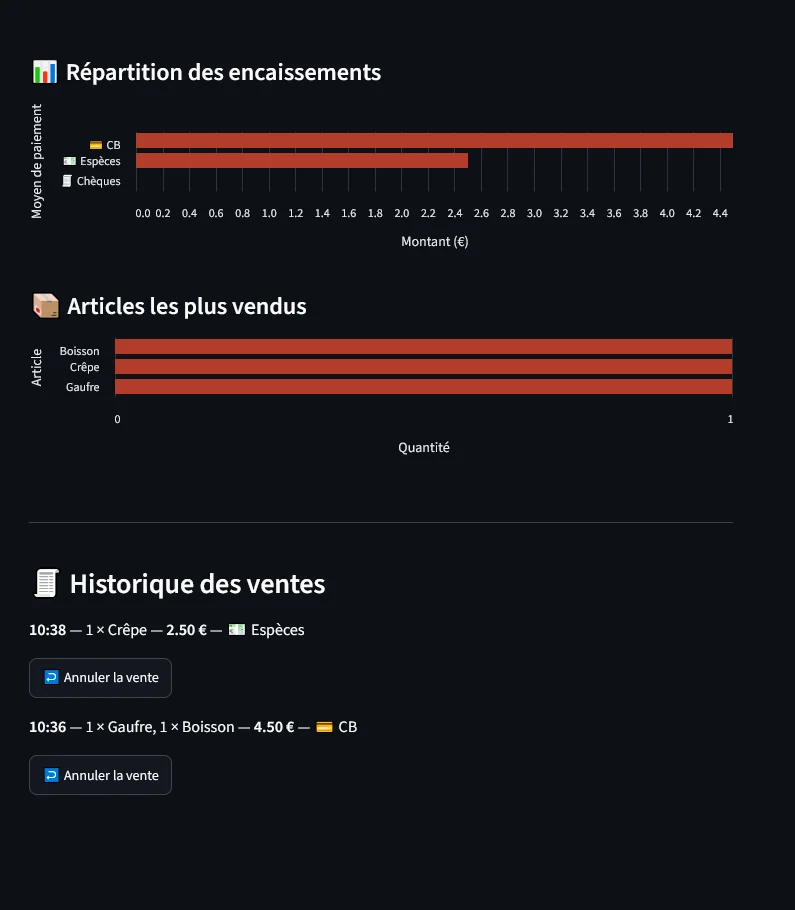
Screenshots show a fictional demonstration event. BénéVente records payment methods but does not process card transactions.